My photo
Sydney, Australia
portfolio | precedents | process [since 2012]

Labels

Showing posts with label CCDN 244. Show all posts

Friday, October 3, 2014

ccdn 244 | project three | data excercise

Instructions: you have to go into your back garden and take some shots of the sky on a dark, cloudless night (tonight may well be perfect for it). If you do this on auto setting you will get terrible images. But it you can set up your camera on a tripod or on the ground (something stable - not in your hands) and set the shutter speed to 30 seconds (obviously you need a DSLR for this). Set the apeture to around f2.4 and set the iso to at least 3600. Finally, be sure to focus the camera manually - if you have a zoom lens the zoom in on the stars, focus on them to make them as sharp as possible manually and then zoom back out to have as wide an angle as possible. And finally make sure that you are shooting in RAW format as you need it to try to pull information out.

These are my best images:

© luckiestwomanalive 2014

© luckiestwomanalive 2014

© luckiestwomanalive 2014

© luckiestwomanalive 2014

ccdn 244 | project two | hand-in

This is my final hand-in. I have chosen three photographs from my remediation exercise where I projected my best three Holga camera images onto my back and then photographed it.

The final image is a composite of the three that were most successful in expressing the idea of eInk as a way of carrying my family with me everywhere. Literally on my back, just as I do with my conventional tattoo.

These are the images:


© luckiestwomanalive 2014

© luckiestwomanalive 2014

© luckiestwomanalive 2014
This is my final presentation PDF:


And this is my project, remediated as a video:

Wednesday, October 1, 2014

ccdn 244 | project two | final precedent

My final precedent for this project is " La Jetée" the 1962 film by Chris Marker which is composed of stills (in all but one brief scene) to tell the story of a post-apocalyptic Parisian man who witnesses a fatal shooting as a boy and is obsessed about it forever after.

The whispering scenes which are a memorable feature of the film have an effect on me every time I see this film. I will pay homage to the film by including a little whispering in my final hand-in. The whispering is well demonstrated as from 1:40.


Saturday, September 13, 2014

ccdn 244 | process update | project three

Third roll of film:

© luckiestwomanalive 2014
That's using the 'blue' method.

Here are the two best images using the 'lush method'.

© luckiestwomanalive 2014

© luckiestwomanalive 2014
Even though I quite like these, they don't really fit with my 'hands' idea. I've started thinking about why I want to depict hands and it really is about the intimacy of hands and how we connect through them. Also, they are super-familiar parts of my loved ones' bodies that I can easily recognise and we can achieve so much with them so I would like to celebrate them

Final remediation ideas:

I thought about printing my final images on leather to simulate skin but now that I have thought through the cost and time factors (I would need to use Liquid Light which I have to order from the states at $100 a bottle and I am not sure it will turn up on time) and think I will project onto my body (or my husband's) and photograph that instead.

Precedent One: Here is a really good precedent that Linda helped me find yesterday. It is by Lucas Samaras. I am interested in the idea of photographing tattoos at the moment.Also in the whole process of remediation, so this could be an interesting way of expressing what motivates people to tattoo themselves. For it was a way of holding something deeply personal close to myself for the rest of my life. I have mine on my left shoulder and it represents me literally carrying the weight of my decision there. I want to show my family members being projected onto me and my husband.

Source
Precedent two: The other idea Leon has got me thinking about is e-ink. Wacky concept for me to get my head aroudn but basically it's a way to show images on you skin that you can change (by choice), you could potentially even receive signals from a third party such as a TV station and watch stuff happening on your forearm!


Source

Mock-up ideas are abounding right now....

More about this crazy stuff can be found here.


ccdn 244 | process update | project two


Okaaayyyyy. So here's the thing, Daisy has been talking about how she changed one setting on the scanner when she was scanning her film last week and then suddenly the scans are more brilliant and lush.

This is the screen grab. So you can see I go chose the option 'with film holder' this time, instead of 'with film area guide':

© luckiestwomanalive 2014

I tried it on my second roll (seen here) and the following are six of the new versions...


© luckiestwomanalive 2014


© luckiestwomanalive 2014

© luckiestwomanalive 2014

© luckiestwomanalive 2014

© luckiestwomanalive 2014

© luckiestwomanalive 2014

 Interesting development. I think by now it's obvious that I like more well-defined colour and contrast.


Tuesday, August 26, 2014

ccdn 244 | project two | first shoot & proposal

I picked up my developed negs last Friday and overall was pretty happy with what I shot on my first roll.

© luckiestwomanalive 2014


The second five were more successful:

© luckiestwomanalive 2014


I am particularly happy with these:

© luckiestwomanalive 2014

© luckiestwomanalive 2014

I really like how the hands seem to imply a narrative, although I am sketchy on that - other than the fact that the hands I used are those of different family members.

I'd like to do more of these and see what I can come up with...

I have also started researching the remediation process and my good friend Brigid told me about the 'liquid emulsion process' which allows you to print your images onto virtually any surface. I have thought about leather but will do some more research for ideas. It will require me to set up a darkroom, but that's OK as I have been wanting to do this anyway.

More information on this can be found here and here.

Proposal:


Proposal

1. Aims and Objectives: We are reaching the point of our bodies being able to remain connected to the internet at all times. I want to show how this might look and, in doing so, question how this might differ from other ways we are connected 24/7 (such as being the member of a family).

2. Method: Images of hands will be shot on a Holga camera. These will then be projected onto my body and I will shoot self-portraits where my own hands will figure.
3. Rationale: The idea is to represent the family connection through our hands. Also, my own traditional tattoo will be visible with the ‘eInk’ tattoos. The title: ‘Always Online’ is a metaphor for what it is to be a mother and wife.
4. Output: I will produce four images – three individual shots and one of all three in a composite image – as well as a multi-media clip that reinforces the family idea, the intimacy I am conveying and is a prototype for my eInk tattoo.


Thursday, August 7, 2014

ccdn 244 | project one | hand-in

After quite the struggle yesterday and today (the drive on my home computer is fast filling up and not coping very well) I handed in pretty much what I had wanted to at 5pm.

After the last entry, I continued to work on getting something interesting happening with my blocks and decided I wanted to insert them into the landscape in lieu of the boat houses at Titahi Bay.

I hadn't brought my jpeg/psd of the Titahi Bay Panorama so had to re-do it and discovered the school computers (that are running on PS CS5.5 - I am on CC at home) did a better job of merging my images. The boathouses also ended up in the middle as the main feature as opposed to being at the sides when I did it at home.

Here is the home version:

© luckiestwomanalive 2014
And the mini-world from it:

© luckiestwomanalive 2014

I used this for the first attempt at placing the blocks. Too skinny and fence-like.
© luckiestwomanalive 2014

I was not feeling altogether very happy with it so went back to the drawing board and redid the photo-merge - can't believe how much better it was - on the old version of the software, although it is probably something to to do with my overfilled drive.

I was a bit excited when this came out:

© luckiestwomanalive 2014

I will leave what I finally achieved till the final images of my post.

I will first of all mention that I also played with HDR on my way to the final hand-in:

© luckiestwomanalive 2014


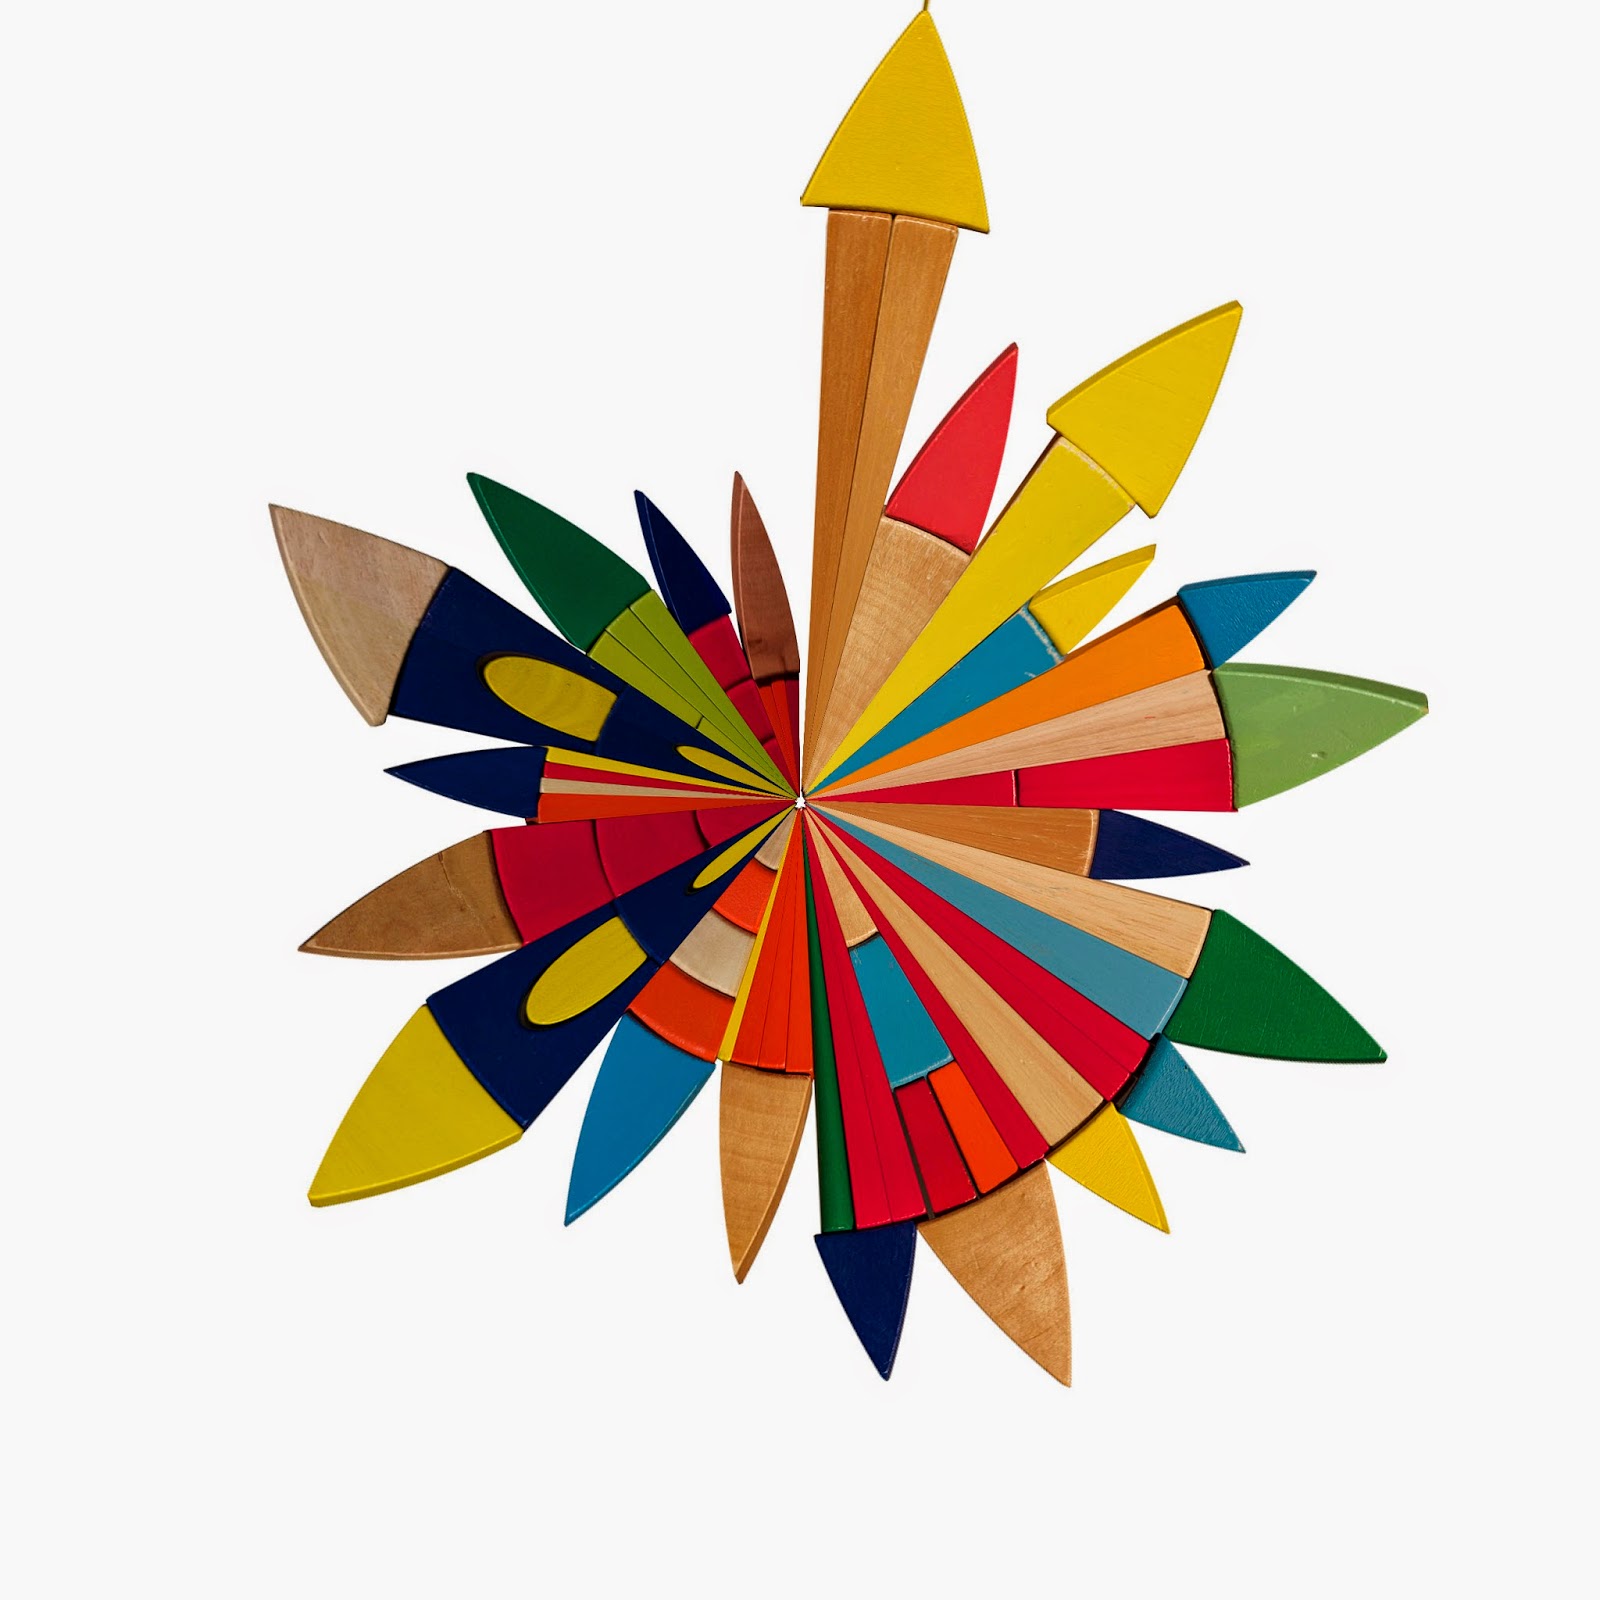
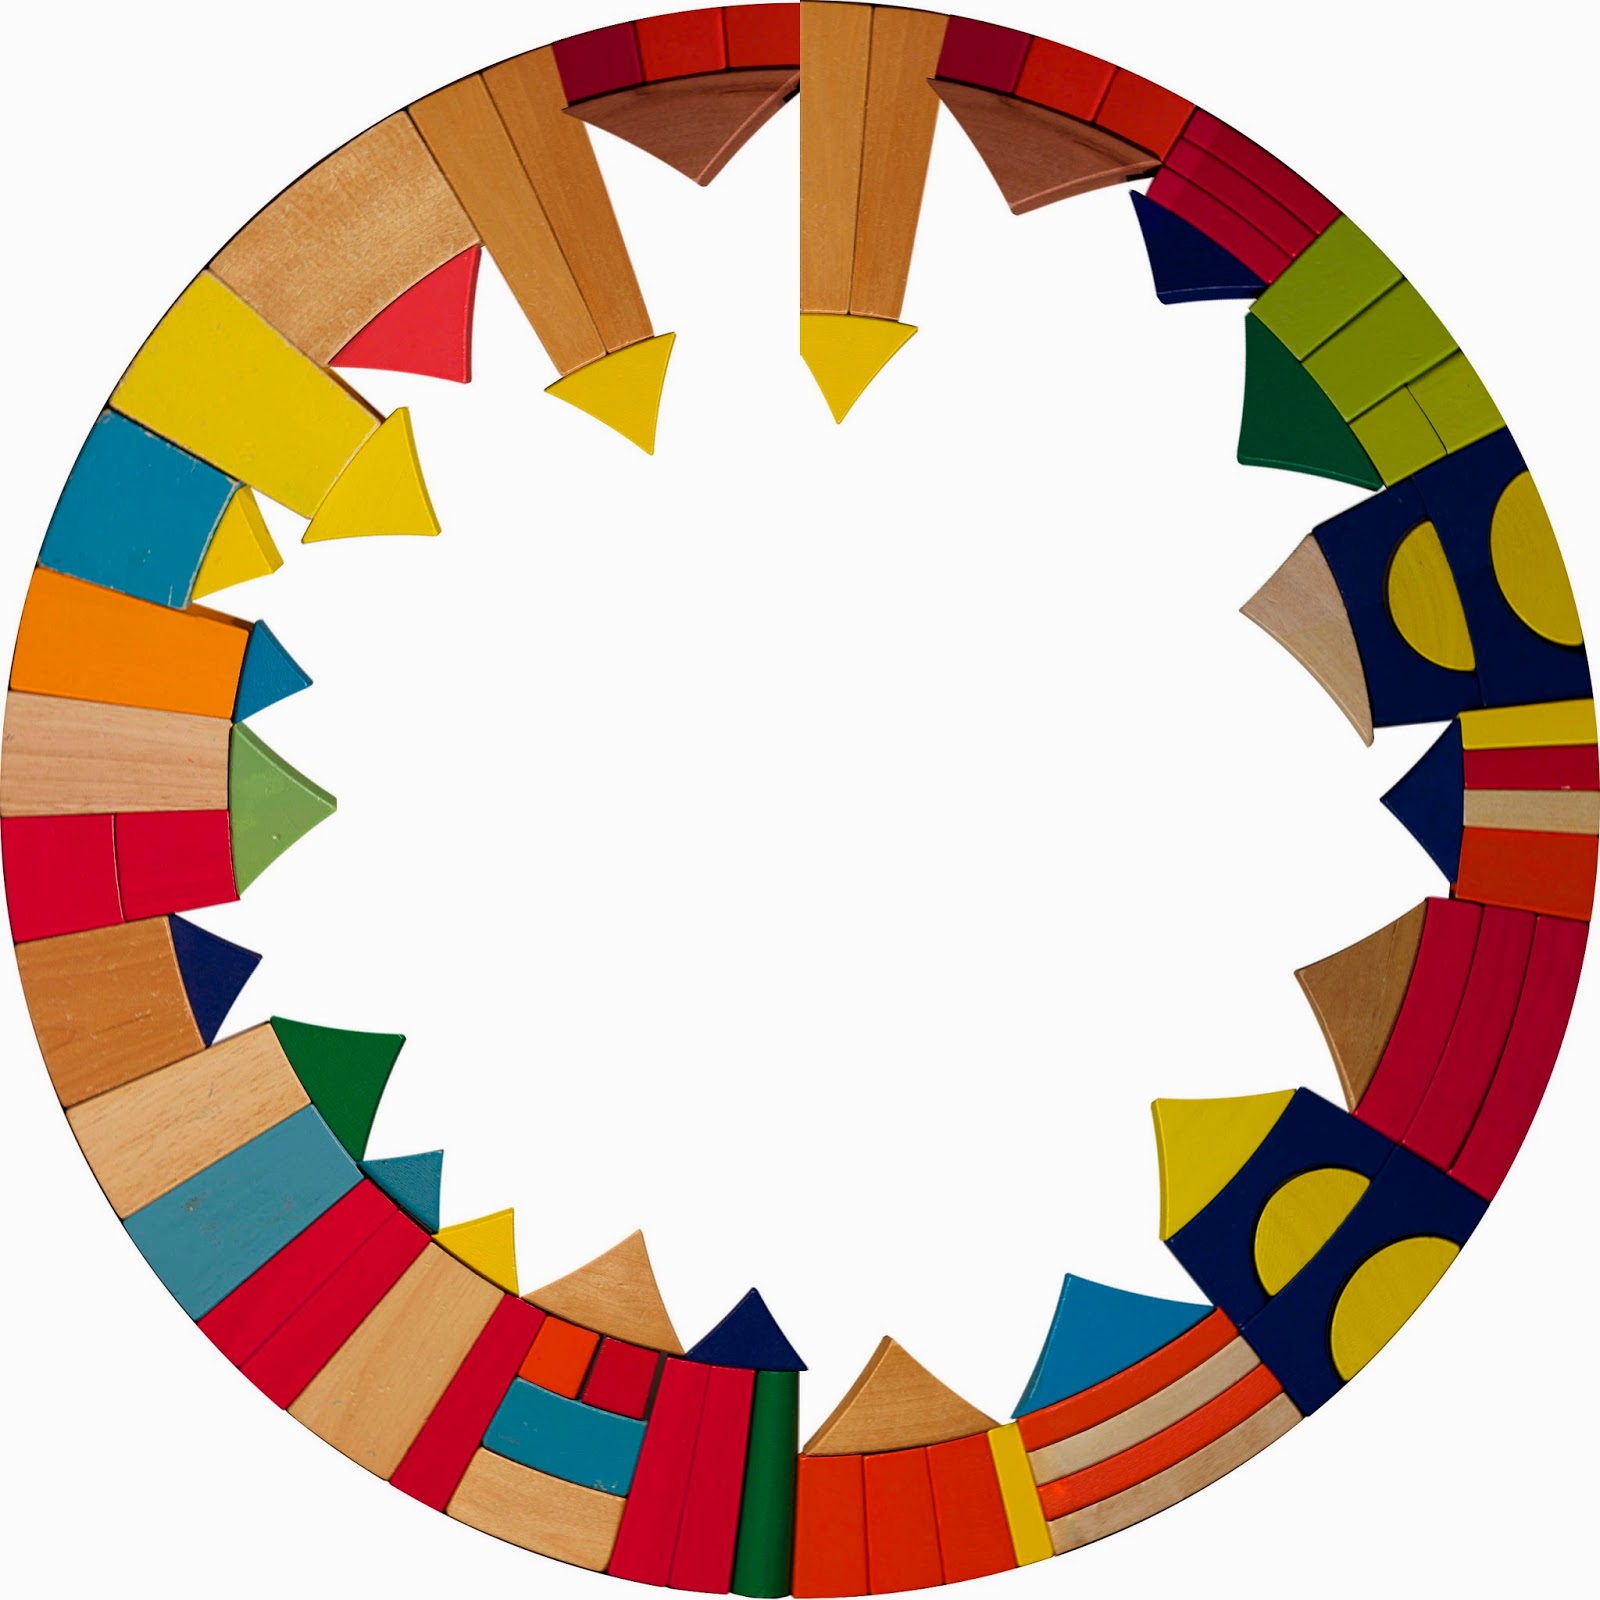
 Here is my final panorama of blocks. not as easy one might think - PS really didn't enjoy merging these. In the end it was a joint effort - I ended up manually stitching the right half together when PS just wasn't cutting it. As per my previous post, here, the blocks were a lot of fun to experiment with and helped me to better understand photomerge.
© luckiestwomanalive 2014

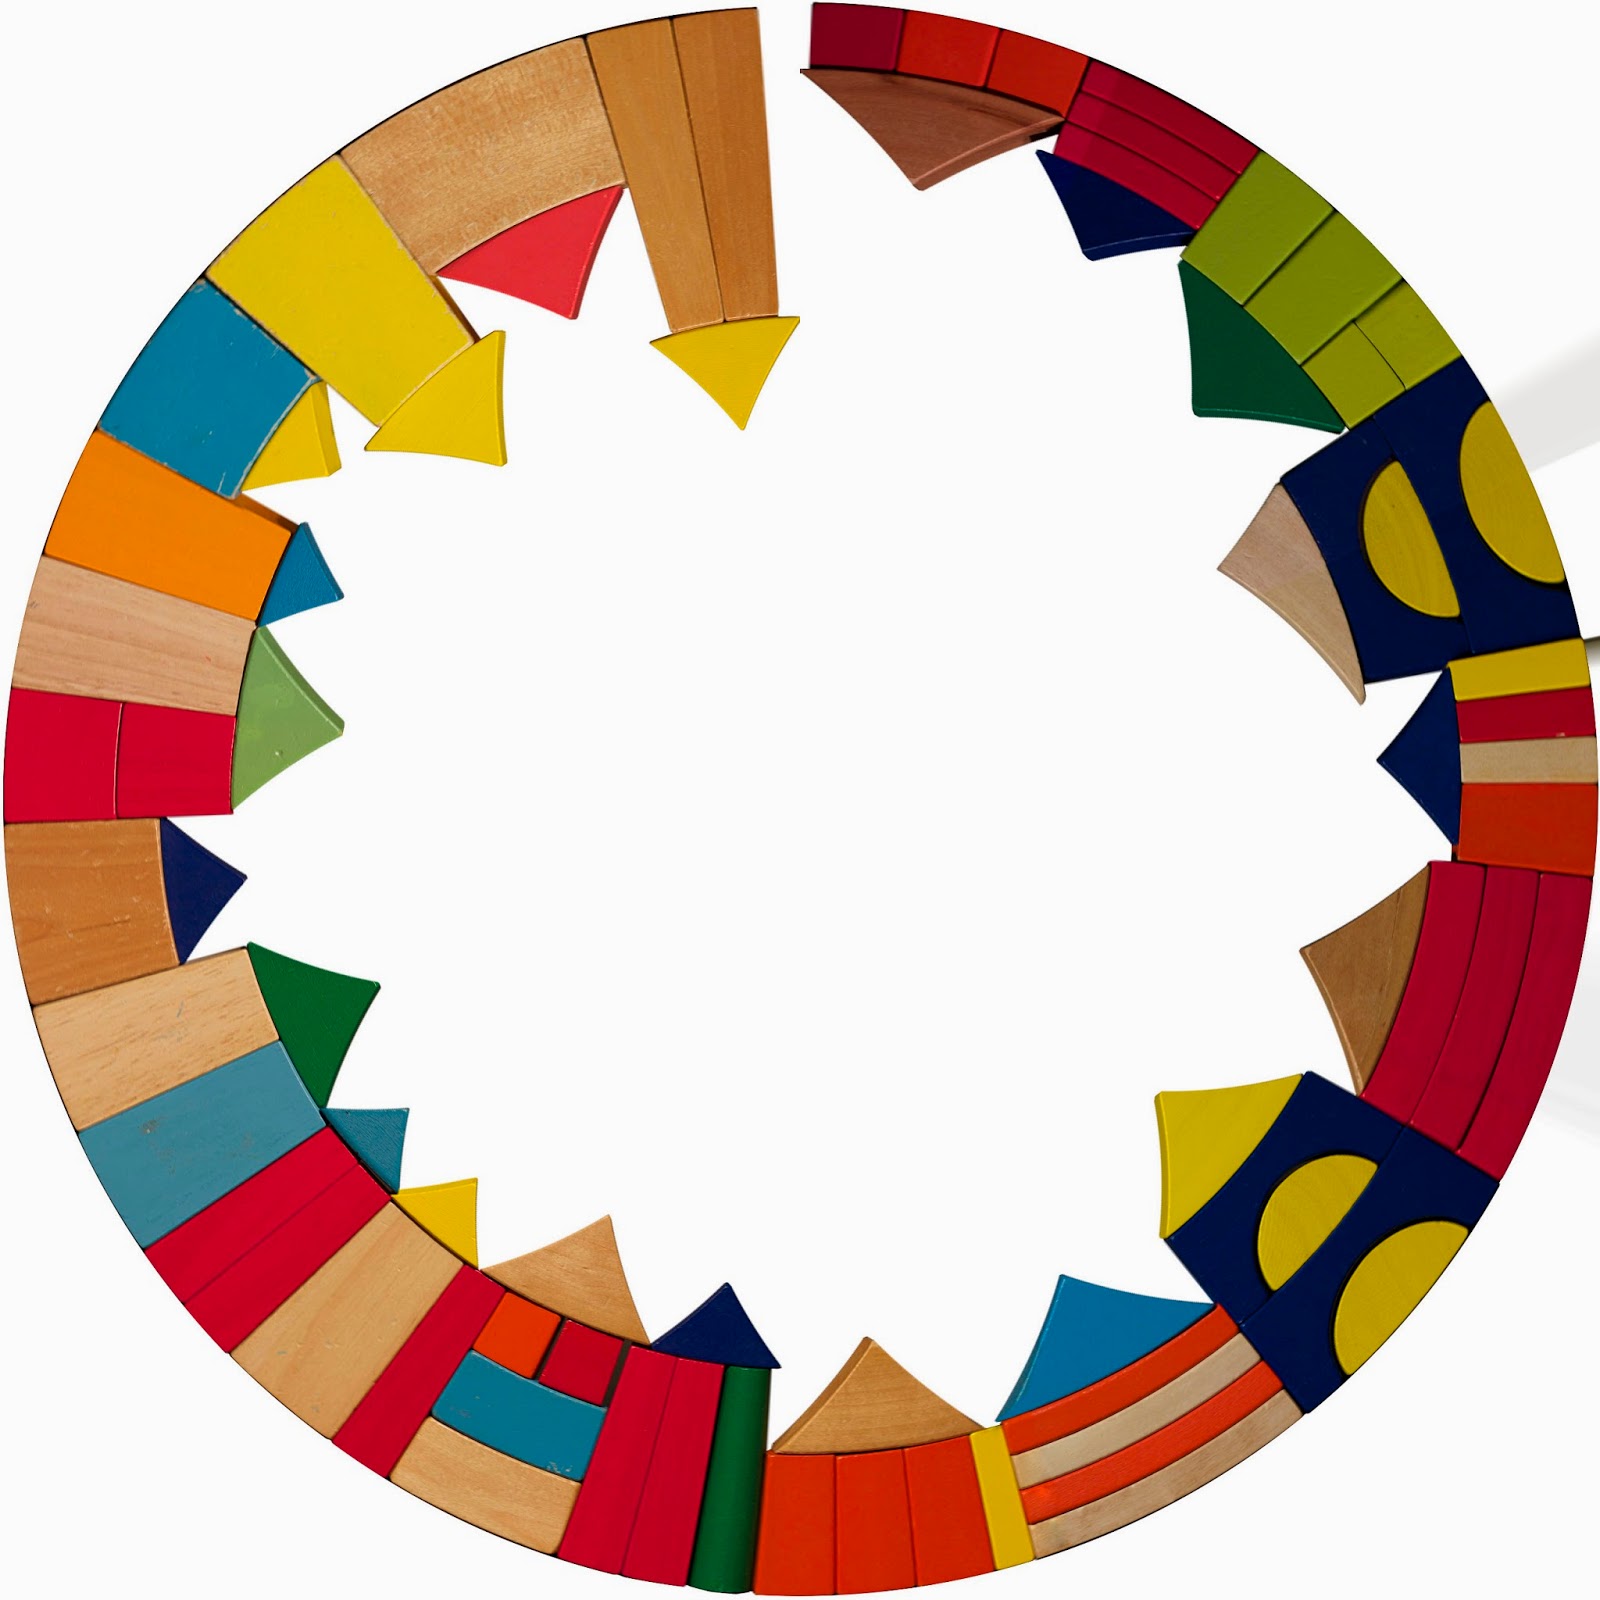
But now - here are my two panoramas and two mini-worlds plus the presentation PDFs I will use for tomorrow's critique.

Panorama 1...
© luckiestwomanalive 2014
...and its miniworld
© luckiestwomanalive 2014
Panorama 2...
© luckiestwomanalive 2014

© luckiestwomanalive 2014


ccdn 244 | final process for blocks panorama/miniworld

I have been working on the blocks so that I can incorporate them into my final hand-in. This shows the process I worked through.


  1. I finally managed to merge my blocks - the panorama I ended up with from the Photoshop merge was only half done - it didn't seem to want to merge all the image, so I used the half that worked and manually added the rest. I ended up using the transform>distort function to make it all fit nicely. The final product was this:
© luckiestwomanalive 2014
2. Now to play a bit. Here's what happened if I too this (with transparent background) and make it into a miniworld using the usual process. Note the gap at the 12 o'clock position.

© luckiestwomanalive 2014
3. Then I tried changing the final setting to 'rectangular to polar'. This is where usually the world ends up on the outside and the sky/water, whatever in the middle. Here's what happened. (Weird):

© luckiestwomanalive 2014

4. I then squashed the structure down to half its height using the transform function (but kept the canvas size the same). Here the gap at 12 o'clock is more pronounced. Need to fix it so I can try doing many layers of houses.

© luckiestwomanalive 2014


5. So, following Matt's advice I copy and pasted the end 'houses'  to each end (so they could overlap like 360 panoramas do in real life), cropped it at the sides, merged the layers

© luckiestwomanalive 2014


6. and then tried it...

© luckiestwomanalive 2014

7. Just couldn't get them to overlap. But at least by cropping close at the end I got them to meet. I took off the spare two houses and made a nice perfect blocks-miniworld:

© luckiestwomanalive 2014
Now that I have had a play, I will construct my Titahi Bay/Rory inspired miniworld.


Tuesday, August 5, 2014

ccdn 244 | subverting the photographic process

One day, after professional family and pet portrait photographer Jame Clauss wrapped up a photoshoot, she found herself with nothing to do. So she and her photographer friends did what anybody would do in their position – they created a series of baby photos with their tubby Jack-Russell Terrier Snuggles instead of a baby.

Source

Sunday, August 3, 2014

ccdn 244 | miniworld & tilt-shift practice

Just took some old panoramas I had lying around and made them into miniworlds for practice. I could be addicted.

...I have joined the miniworld group on Flickr.

  1. Gordon Road

© luckiestwomanalive 2014
2. Te Mata Peak, Hawks Bay
© luckiestwomanalive 2014
3. Karehana Bay

© luckiestwomanalive 2014


4. ...and a little tilt-shift taken while walking home this afternoon
© luckiestwomanalive 2014


ccdn 244 | project one | clip of blocks being constructed

I have done my shoot for the blocks miniworld.

Here's a sneak peek of the set-up.


ccdn 244 | tilt-shift technique

This week is tilt-shift week which I have already played around with on my iPhone and a bit in Photoshop too.

So it is just a matter of taking an image from a high vantage point showing people, cars, houses etc as tiny little objects. Then opening it in PhotoShop, duplicating the layer, putting a Gaussian Blur filter on it then a vector mask on the same layer. Using the paintbrush tool to either 'paint' in black or white (foreground/background) you start by painting in a strip in the middle and then adding or subtracting blur by using either the black or white. I really need to find a good image to use, but I have been practising with what I had:

1. Macquarie University Train Station - Sydney, 2013
© luckiestwomanalive 2014

2. The view of the Marae - Karehana Bay, 2014
© luckiestwomanalive 2014
3. Circular Quay - Sydney, 2013
Source
4. Boat Sheds - Titahi Bay, Porirua 2014
© luckiestwomanalive 2014
This got me thinking about how I can apply this to my mini world.