My photo
Sydney, Australia
portfolio | precedents | process [since 2012]

Monday, June 1, 2015

ccdn 371 | process - found the answer

I am going to use the velum and card to make a non standard book - half way between a A3 and 4 size it comes out like this:


And then I am using thin tape to attach the velum printed with the best of my monthly reads.


I will make a cloth covered book to house the 12 (monthly) signatures. I have researched the methods used to really finish the book to a high standard.

Source


Now I need to experiment with my pages. I thought hard about the concertina but decided it would be too hard to achieve a great finish at the spine without some kind of previous experience.


So I purchased some of the materials and started to experiment


This was too obvious


But I like the page being attached to edge of the linen card (which I really love)


So I think there is a solution here - to use the linen card as the outer layer of the signature


And yes - here is is. The A3 linen card can be folded off-centre and the A4 printed page is attached with the narrow double-sided tape:


So now I need to fold them all:


And then cut the card cover (which will be covered in fabric)


So that the linen card signatures can be bound inside:


For all this, my bone scoring/folding tool has been indispensable - sixteen years after I bought it...


Here the cover of the signature takes shape - note that this is a proto-type and did not end up being used.


I wanted to embroider the word keep on it to retain something of my previous work. I tried multiple options like this:


I transferred the word 'keep' onto the fabric the old-fashioned way - with pencil and tracing paper.


Now the cloth will be glued to the card cover (with Mod Podge - I ended up having to buy the matte version when the glossy Mod Podge proved to streak too much)


Then came the binding - I had 12 signatures which were numbered so as not to mis-order them - too bad that idea didn't work. I still managed to sew them together the wrong way. Undid it and sewed it again.


Looked at all options for the thread - the red thread I bought was too thick. So I looked at organic thread, but it seemed too thin (which risks ripping the paper):


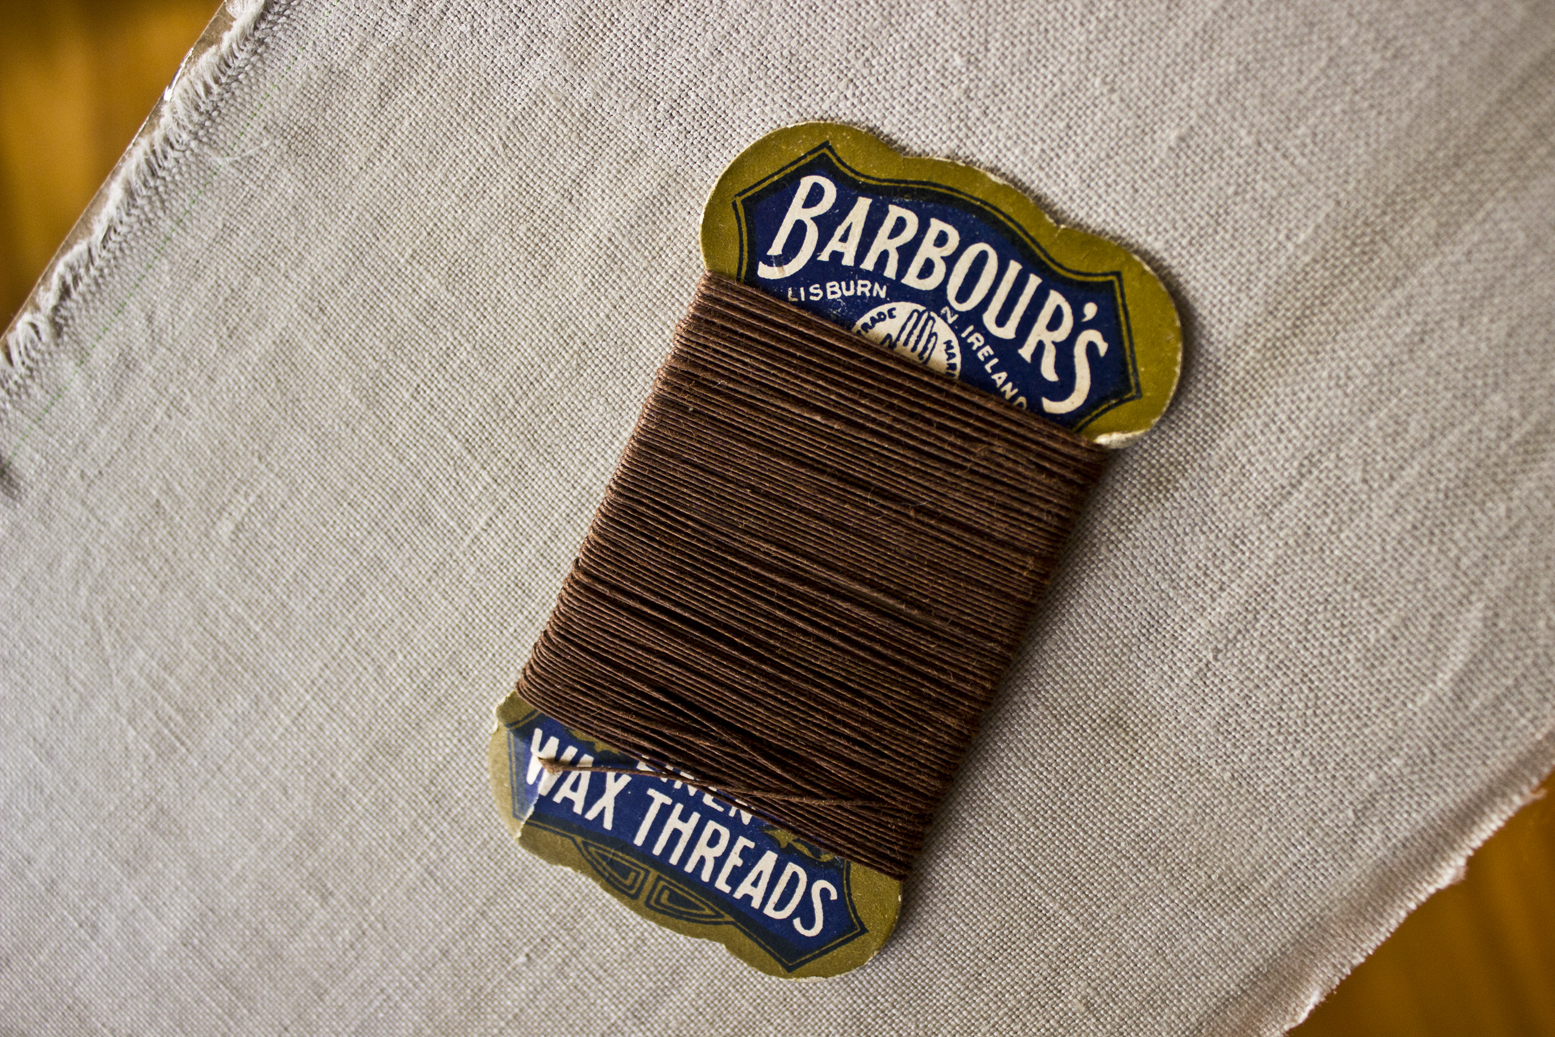
The solution was Grandma Davis' wax thread - perfect for book binding. REALLY old. I was pretty happy I could use it for this project.

I then made sure it was all square and marked where the thread would go:


Here is where the linen tape gets sewn in to the book binding:


The tutorial where I found out how to bind a book is here. 

Here you can see where I have attached the mull cloth to the spine (with a tonne of tacky glue):


Here I am trying out options for the inner paper to line cover and disguise where the glued bits are:

Green

Black
This is what the card would hide. I ended up going for the linen card that houses the signatures.

A full post on how it turned out will follow.


Friday, May 29, 2015

ccdn 371 | more process

I have been researching the codex and found this amazing art book that will serve as my inspiration.

Source

Source
Seriously - this is heading in the right direction.
Now I just need to work out how to incorporate my lovely velum


And my equally lovely cream linen-look card.


Tuesday, May 12, 2015

ccdn 371 | process

Paper format:

  1. concertina style (using codex-style system)
    or scroll
  2. need to research sheer paper which could be used to contain actual pages ripped from magazines 
Printing: via liquid emulsion process

Final containment: box or bound book

Ideas:

Wednesday, May 6, 2015

ccdn 371 | making an extendable magazine

I am going to redesign the magazine so that it works within the context of a 'post-digital' age.

Source


1.The process requires the reader to select the content. This would be preformed via a platform such as a website or mobile app. The reader would select the reading material they desire from the site's range or alternatively this may be managed via the app but supplied by the original publisher.


2. The content would be printed and supplied to the reader or possibly supplied as a digital file and left to the reader to print and bind.

Source

3. There would be a binder supplied to the reader which would house the printed material. The job of adding the printed material to the binder could be performed by either the reader or by the printer. The printed material would have the binding twine already in place and adding it could take place using a simple knot. The reader constructs their own 'perfect magazine'.

Source


4. Potentially there could be alternative designs that might be offered:

Other ideas


Fast back binding is where the pages are heat sealed with a tape or material strip. It looks neat and tidy, and is used often for commercial documents.
Comparison to other bindings
With this bind the book doesn't open fully, as it is stapled and glued at the edge, much like a paperback book, it cannot lie open flat, or be opened 360 degree’s. Pages cannot be added or taken away at a later date.


Source


Coptic Book Binding

A super flexible book-making process. Binding your book with an open spine–a chain stitch or a coptic stitch binding – is a great method when you have book covers that are individual boards instead of completely wrapped around the entire journal. You are basically binding all the signatures and covers together with a connected stitch that holds everything together tightly, but with super flexibility. The pages will open up completely flat and that’s a big reason why this method is so popular.There are variations to the chain stitch that could be used to incorporate subsequent files.

Source

Wednesday, March 11, 2015

dsdn 383 | project one | module one | design autopsy cards


Week two back at the grindstone and here is my first hand in for DSDN 383 - Strategic Design.

Here's the brief:

Select three pairs from the list below. Choose one product from each company and undertake a thorough visual and descriptive analysis of the two products. Document your results for each pair by designing a card in A5, that has one product on each side. Design all three cards to a professional standard.

1. Pendant light: Tobias Grau / David Trubridge
2. Bottle Opener: WMF / Alessi
3. Microwave Food Container: Tupperware / Sistema
4. Hair dryer: Babyliss / Panasonic
5. Pull along toy: BRIO / BuzzyBee 6. Brain Game: Nintendo / Xbox

And here is the result:


Wednesday, December 10, 2014

show reel | summary of two and half years of toil

This show reel has been assembled specifically for the FILM 210 application process and contains highlights of work created for my design studies since I commenced my Bachelor of Design Innovation at Victoria University Wellington in 2012.
The purpose of the video is to demonstrate the skills I have acquired and honed in that time.
The following summarises the subject/purpose for which each production was prepared, the name of each production project (featured in the order of its appearance), year of the production, and my production role in each case.
DSDN 104 | 2012 | 3D modelling/printing project | role: designer (rendered using 3ds Max)
DSDN 101 | 2013 | Cultural identity project | role: designer (using Adobe Illustrator and Adobe Flash)
DSDN 101 | 2013 | Stop-motion project for Caritas NZ | role: designer, photographer and editor (using Adobe Photoshop and Premiere Pro)
Personal project | 2014 | Time-lapse clip | role: designer, photographer and editor (using Adobe Photoshop and Premiere Pro)
DSDN 144 | 2013 | ‘Princess + Light’ project | role: designer, photographer and editor (using Adobe Photoshop)
CCDN 244 | 2014 | ‘Blocks + Boats’ project | role: designer, photographer and editor (using Adobe Photoshop and Premiere Pro)
CCDN 244 | 2014 | Datagraphy project | role: designer, photographer and editor (using Adobe Photoshop)
CCDN 332/Williment Travel (client)| 2014 | design project | role: designer, videographer and editor (using Adobe Premiere Pro) **
CCDN 331 | 2014 | ‘La Bonne’ Design Manifesto project | role: designer, photographer and editor (using Adobe Photoshop & Premiere Pro)**
CCDN 331 | 2014 | ‘The Context of the Colour’ Photo Essay project | role: designer, photographer and editor (using Adobe Photoshop)*
CCDN 331 | 2014 | Expressing a design theory group project | role: co-designer, co-camera and co-editor (using Adobe Premiere Pro)**
* Selected for GASP! Exhibition at New Zealand Academy of Fine Arts, Wellington - 2014
** Shortlisted for BDI Culture + Context end of year prize - 2014
A blog which features all work submitted for my BDI can be found at  www.bonmardi.com  (use 'Projects' tag)
Full versions of all clips featured in this show reel can be found here: vimeo.com/groups/film210


Wednesday, November 26, 2014

DSDN 142 | Project One | Inserting yourself into the code - final hand-in

Lines - open
polygons - open


ellipses - open

lines - grid
polygons - grid
ellipses - grid
lines - algorithm


polygons - algorithm

ellipses - algorithm


final composite image