My photo
Sydney, Australia
portfolio | precedents | process [since 2012]

Wednesday, December 10, 2014

show reel | summary of two and half years of toil

This show reel has been assembled specifically for the FILM 210 application process and contains highlights of work created for my design studies since I commenced my Bachelor of Design Innovation at Victoria University Wellington in 2012.
The purpose of the video is to demonstrate the skills I have acquired and honed in that time.
The following summarises the subject/purpose for which each production was prepared, the name of each production project (featured in the order of its appearance), year of the production, and my production role in each case.
DSDN 104 | 2012 | 3D modelling/printing project | role: designer (rendered using 3ds Max)
DSDN 101 | 2013 | Cultural identity project | role: designer (using Adobe Illustrator and Adobe Flash)
DSDN 101 | 2013 | Stop-motion project for Caritas NZ | role: designer, photographer and editor (using Adobe Photoshop and Premiere Pro)
Personal project | 2014 | Time-lapse clip | role: designer, photographer and editor (using Adobe Photoshop and Premiere Pro)
DSDN 144 | 2013 | ‘Princess + Light’ project | role: designer, photographer and editor (using Adobe Photoshop)
CCDN 244 | 2014 | ‘Blocks + Boats’ project | role: designer, photographer and editor (using Adobe Photoshop and Premiere Pro)
CCDN 244 | 2014 | Datagraphy project | role: designer, photographer and editor (using Adobe Photoshop)
CCDN 332/Williment Travel (client)| 2014 | design project | role: designer, videographer and editor (using Adobe Premiere Pro) **
CCDN 331 | 2014 | ‘La Bonne’ Design Manifesto project | role: designer, photographer and editor (using Adobe Photoshop & Premiere Pro)**
CCDN 331 | 2014 | ‘The Context of the Colour’ Photo Essay project | role: designer, photographer and editor (using Adobe Photoshop)*
CCDN 331 | 2014 | Expressing a design theory group project | role: co-designer, co-camera and co-editor (using Adobe Premiere Pro)**
* Selected for GASP! Exhibition at New Zealand Academy of Fine Arts, Wellington - 2014
** Shortlisted for BDI Culture + Context end of year prize - 2014
A blog which features all work submitted for my BDI can be found at  www.bonmardi.com  (use 'Projects' tag)
Full versions of all clips featured in this show reel can be found here: vimeo.com/groups/film210


Wednesday, November 26, 2014

DSDN 142 | Project One | Inserting yourself into the code - final hand-in

Lines - open
polygons - open


ellipses - open

lines - grid
polygons - grid
ellipses - grid
lines - algorithm


polygons - algorithm

ellipses - algorithm


final composite image


Tuesday, November 25, 2014

DSDN 142 | Project One | Randomness

I like this word word randomness. That we use it in coding is a little bit fun.

So my efforts at randomness include colour and composition as per the learning modules.

Random Grayscale

Random colour (using palette from here)

Random lines

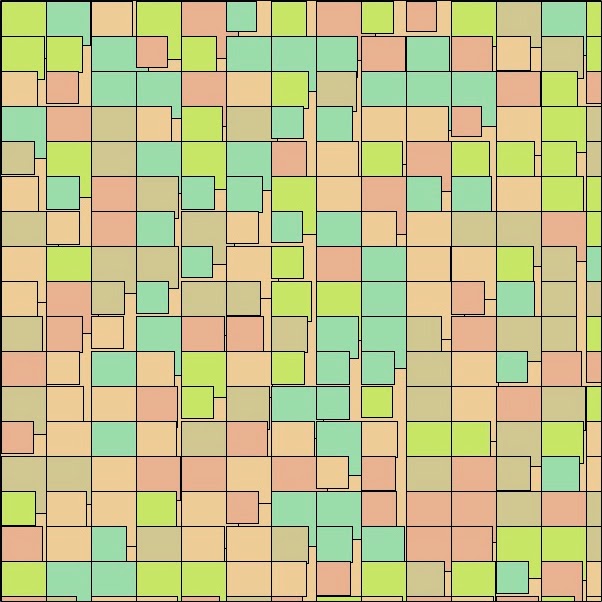
Random boxes

More random boxes with colour background

start of finding solution to one of my nine sketches - lines_grid


Monday, November 24, 2014

DSDN 142 | Project One | Inserting yourself into the code


In 2014, I have been investigating the number of key ideas in my design work and one of them is the idea of being constantly online. I have investigated this in my Photographics paper (CCDN244) and specifically I have referred to the idea of eInk and the possibilities for its application in the form of tattoos. This led me to develop a series of self portraits that can be seen on my design blog here.
As further development of that idea I am interested in investigating the possibility of inserting myself into my code designs. I have based my research on this concept.

Precedent one: Bridget Reilly
The connection between Bridget Reilly and assignment one is obvious. She was the first artist I was reminded of when I commenced this paper and then she appeared in Doug Easterly’s lecture as a precedent. The image that can be seen at the above link is an example of the numerous portraits that can be found of Bridget Reilly surrounded by her art. It is a literal expression of the founding concept for my project. I am also interested in her use of triangulation.

Source


Precedent two: Peter Trevelyan

Last week I visited the Dowse Gallery in Lower Hutt and saw an exhibition that featured this New Zealand artist.  The work featured in this exhibition immediately reminded me of the geometry inherent in the practice of creative coding. It is a pyramid constructed of hundreds of clear plastic set squares. The way in which the light that passes through the sculpture then plays on the surrounding walls motivates me to explore how this can be expressed in code. The triangulation of this form also inspires me to seek a way to recreate some aspect of the form in one or more of my designs. The image to left was taken by me as permitted at the Dowse.

 The Technical Drawing, Peter Trevelyan, 2014, set squares, super glue, Dowse Gallery, Lower Hutt

Precedent three: MIT Media Lab Identity by TheGreeneyl
http://www.thegreeneyl.com/mit-media-lab-identity-1

This is not really by an artist however I saw this in one of the tutorials and was moved to research TheGreeneyl’s logo design project for MIT. I like the way the three simple shapes represent a single person’s contribution then come together to form a new shape. I am excited by the fact that this was programmed on Processing. There is a succinct video that explains the project on Vimeo here: https://vimeo.com/20488585


Precedent four: The art of Scott Blake
Scott Blake is an Omaha, Nebraska artist who makes art with barcodes and QR Codes. There is a multitude of examples of his work that can be seen at his website via the above link and they are really appealing however the reason I am most interested in his ideas is because they further engage with my concept of inserting oneself into the code. The essence of this work is that there is quite literally an underlying message in all his images. For example, his portrait of the American broadcast journalist, Amy Goodman, is made with 2,304 QR codes that link to nine years of Democracy Now videos. (Goodman hosts Democracy Now’s daily news broadcast). The portrait can be seen here:
 https://www.flickr.com/photos/scott_blake/5185387455/in/photostream/


NB - there are some other really interesting examples of QR code art here 


Precedent five: The art of Kazimir Malevich

I have been studying Twentieth Century art this year in my BA which meant revisiting Malevich’s art. He was the founder of the Russian Suprematist movement which grew out of the Cubist and Futurist movements in the early decades of the 1900’s. Works such as Black Square tested the boundaries of people’s perception of art in their simplicity. I enjoy art that is (sometimes deceptively) simple on first viewing and to me Malevich was a great practitioner of this form of artistic expression. Malevich was also interested in aerial photography which led him to abstractions based on aerial landscape which relates to my other current interests: drone photography and data representation. I like the idea of coding an image that recreates a crowded beach as seen from a drone or documents the movement of someone or something. 
An early example of this can be seen below in the photography of Étienne-Jules Marey.

Source


As a addendum to the inclusion of this final precedent, I found an interesting blog post here which talks about the coding world's obsession with simplicity. It specifically refers to the good/bad dichotomy (where good = simple and bad = complex) that exists in coding. I must admit to being susceptible to this mindset already. With relatively little experience in this discipline I have already started forming the opinion that minimal coding must be a sign of greater skill. The above post has challenged me to think alternatively and so I will try to remain open-minded about simplicity in coding for now. 

Sunday, November 23, 2014

DSDN 142 | Hello Processing! | Tutorial

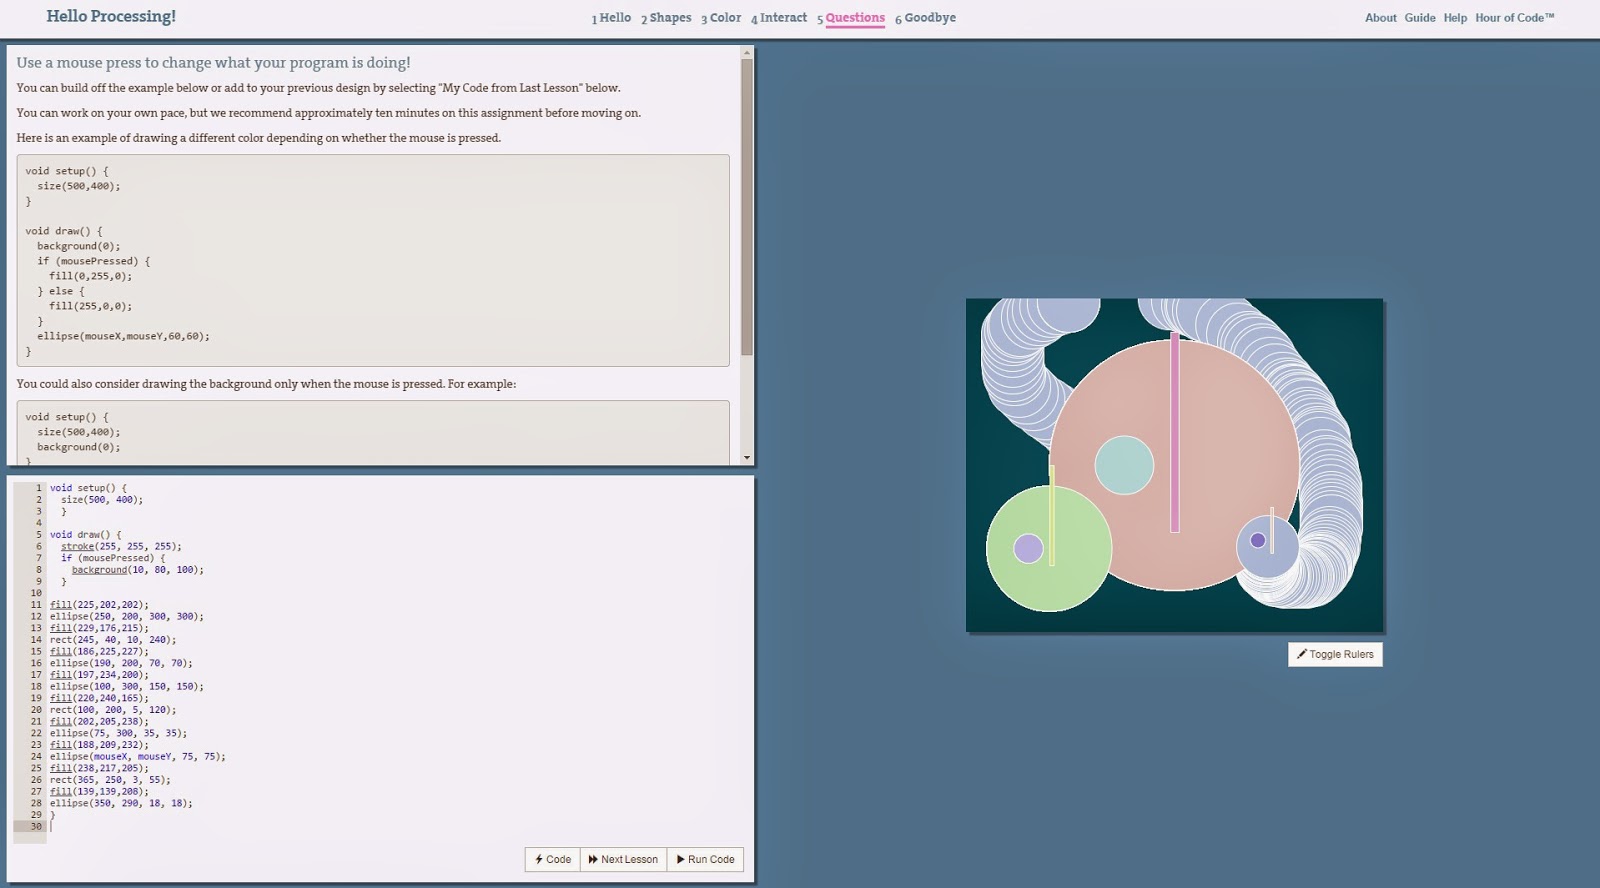
I have done the hour of code tutorial - which by now is slightly basic but good for revising my progress.


First exercise - quick design drawing ellipses and rectangles
Add colour to the design

Animate the design with mouseX and mouseY

Conditional syntax introduced

Done
See the tutorial here.

Saturday, November 22, 2014

DSDN 142 | Book: Chapter 3 & 4

Drawing Order

I have changed the size of my screen so as to force me to think about the x, y coordinates again.

The first exercise is straightforward and shows us how the order of the code dictates the position of the object as demonstrated below (figs 1 & 2):


Figure 1 rectangle over ellipse

Figure 2 rectangle under ellipse
Shape Properties

Stroke weight and smoothing (AKA anti-aliasing) are both properties that can alter the stroke appearance.

Smoothing - the upper circle in the duo below has been smoothed with the smooth function which was turned off for the lower of the two:

Smooth vs. Non-smooth
Set stroke weight - the four circles below each have different stroke weights and the smooth function is in operation only for the top three - it was turned off for the lower one.

Various stroke weights  
Set stroke attributes - the upper rectangle has bevelled corners, the line below it has squared ends, the rectangle below that has rounded corners, as do the ends of the line at the bottom.


Various stroke attributes
Also completed the tutorial about the coordinate system on Processing. This is the final example with a dash of colour.

coordinate system & shapes

Started with this:


Ended with this:


Chapter 4

Change values - if you set up a rule that defines one element (such at the point of the object on the y axis or the diameter of an ellipse) as one constant value - then you can avoid having to change the value multiple times. Below in Figure 1 the four ellipses are 100 pixels in diameter and this can be changed easily using the variable rule "int d = 100" - all you need to do is change the value of d (to 50 for example) and the changes observed in Figure 2 can be observed.

Fig. 1

Fig. 2

Processing Variables
Processing has some special variables. i.e the width and height of the window are stored in variables called width and height. These values are set by the
size() function. They can be used to draw elements relative to the size of the window, even if the size() line changes. Note changes in size of screen below (Figures 3 and 4) are handled by the 'width' and 'height' variables. 
Fig. 3

Fig. 4

For Loop

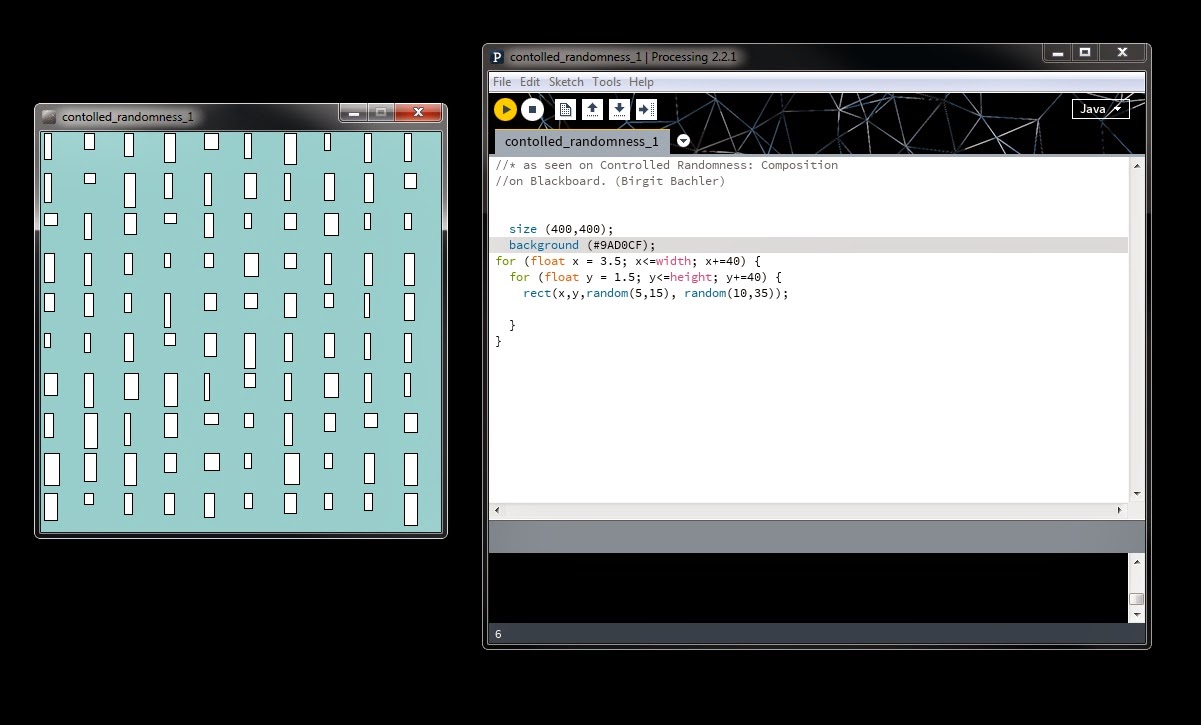
OK - here we go - this is where it gets interesting. Having read the chapter in the text I then watched the explanation by Doug Easterly on Blackboard about 'for Loops' and basically copied the code he used so I can try to get a feel for it. He has shown us how to do a for Loop (Figure 5), then a nested for Loop (Figure 6) which basically is how you make a grid in coding.

Fig. 5
Fig. 6
Doug then revealed the following image (Figure 7) through his manipulation of the code which is closer to where we need to be for the first assignment. It is a little intimidating because although I have successfully copied it from the screen, I am not really sure how he got to the final step. All to be revealed in the fullness of time I guess.

Fig. 7
Birgit's tutorials x 3

02 Draw with Code - 1: Coordinate Space in Processing


02 Draw with Code - 2: Variables


02 Draw with Code - 3: For-Loops


Example B


Friday, November 21, 2014

dsdn 142 | creative coding | chapter 3 - draw

OK - I need to go back to basic trig for this. x,y coordinates etc - I cannot even begin to remember when it was that I last thought about this stuff. My old maths teacher, Obsie, would be proud.

So First we are thinking about sizing the screen and I am continuing on with 600 x 600 pixels.

I have located the centre and drawn a point there - it's there, I promise. There's also a point, one pixel in, in each of the four corners:

© luckiestwomanalive 2014

Then I drew a line:

© luckiestwomanalive 2014
Then a line on a 45 degree angle:
© luckiestwomanalive 2014
Then an equidistant triangle:
© luckiestwomanalive 2014

...and a quadrangle.
© luckiestwomanalive 2014
Now a rectangle:
© luckiestwomanalive 2014
And an ellipse:
© luckiestwomanalive 2014
Then finally an arc (which uses the value of pi for construction).

© luckiestwomanalive 2014
With the arc creation, I prefer to use degree measurements,so - as per the instructions, I converted to radians with the radians() function"

© luckiestwomanalive 2014