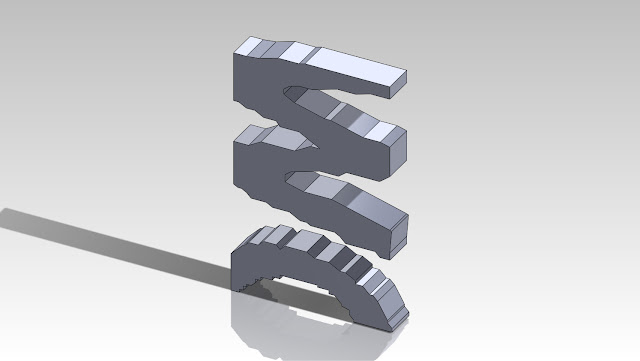
I started the tutorial with the image from Sunday but had to start again with the original (red) object and redo the black 'needle'. After some consultation with Sarah we realised I needed a version of the needle with many more vertices so that I could produce a much more rounded version of the object - I needed to bend it and maintain a smooth rounded form.
I wanted it to look like this:
But the form I had created on Sunday (
here) just bent in a few different places.
Eventually, with some help from Sunny, I was able to add the vertices (we created 72 height segments as opposed to the previous 5) and with some more manipulations (so that the black form didn't enter the red object at any point) I finally had my first iteration:
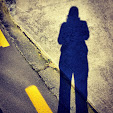
We also worked on adding materials to our forms. This is the image I found to apply to my red form:
Note the yellow and black reference to the Rosalie Gasgoigne precedent image
here. I resized it to 500 x 500 in Photoshop. We brought up the Slate Material Editor Window and added the above image to the palette, selected the object, then the Modifier 'UVW map' and made sure to select 'Assign Material to Selection' to transform the object to display as a rusty metal form. I liked the effect.
But I wanted to play with it a bit and ended up liking this best (I used 'Box' mapping in the parameters for both objects to achieve this result):
I also found I couldn't render in 600dpi anymore (on my home PC) once I had applied the materials.


